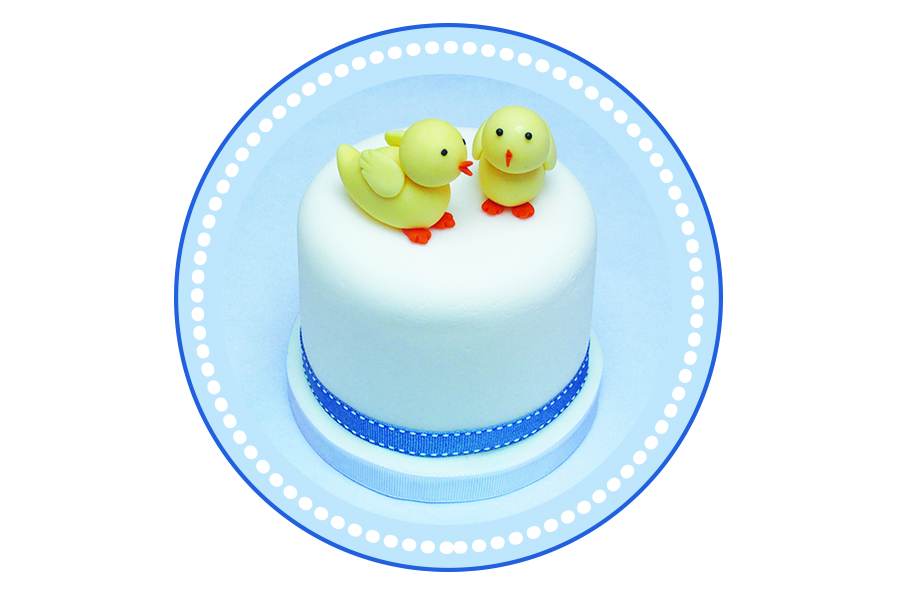
We are getting excited for Easter, we know it is very early but we could not wait. We have decided to share this lovely Easter Chick Cake topper tutorial for you to give it a go. We hope you enjoy.
If you have any questions or need a helping hand, feel free to pop along to our tutorials page on the Cake! By Chloe website or ping us an email and we will help in any way we can.
Easter Chick
Equipment: Edible glue, small paint brush, tools, coloured icing: yellow, orange and black.
Step 1: For the tale, start with a ball of yellow paste. Make in to a cone shape and with the cone end, gently pinch and bend up forming the chicks tail. You might have to play around to get the shape.
Step 2: With a new piece of yellow paste make a ball shape. This is for your chicks head. You may need to play around with the size for it to look correct. Once you are happy with the size stick in place.
Step 3: Two make the wings make two small cone shapes and gently flatten into a tear drop shape. At the smaller end of the tear drop shape, mark 3 lines with your tool for the feathers. Once made stick to the side of your chick.
Step 4: Roll two small orange balls for the feet and gently flatten. Using your tool mark in the claws for your chicks feet.
Step 5: To make the beak roll a tiny orange sausage and using the tool fix to the chicks face carefully bending the beak in half.
Step 6: For the eyes roll two tiny black balls and stick into place. You could also use poppy seeds.


